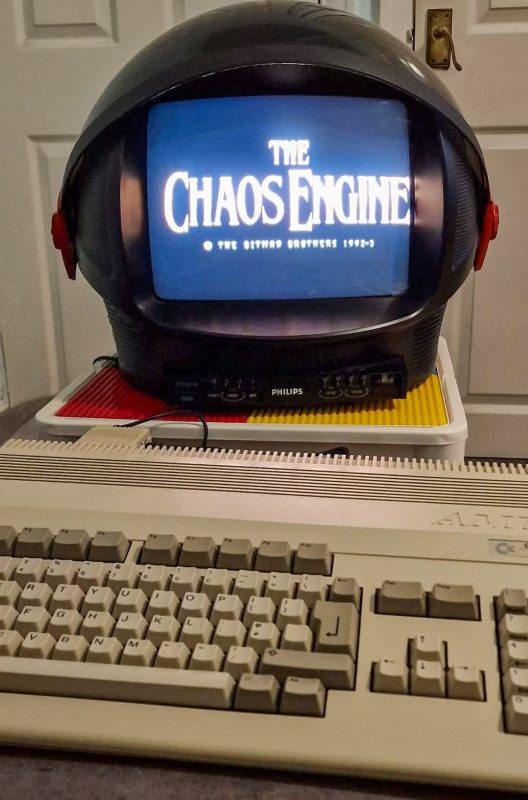
Following on from the Commodore 64 Machine Hub, I'm pleased to announce the next addition to Smiggy's World — the Amiga Machine Hub. This one covers the three most common desktop Amigas: the A500, A600, and A1200.
Why an Amiga Hub?
The Amiga repair scene has its own particular set of challenges. The A500 is relatively straightforward with its through-hole construction, but the A600 and A1200 bring a problem that every Amiga owner dreads: leaking SMD electrolytic capacitors. Combine that with a video output standard that modern displays can't handle natively, a boot screen error system that communicates entirely through colour flashes, and a pair of CIA chips whose failure symptoms overlap in confusing ways — and you've got a machine that really benefits from having all the reference material in one place.
That's what this hub is. One page, structured for the workbench, covering everything I find myself looking up repeatedly when working on Amigas.
What's Inside
Model Selector
Select your machine — Amiga 500, Amiga 600, or Amiga 1200 — and the page shows you the key ICs on that board (CPU, Agnus/Alice, Denise/Lisa, Paula, CIAs, gate arrays, Kickstart ROM), plus a capacitor reference table tailored to that model.
The A500 panel covers the through-hole electrolytic layout with typical values by area. The A600 and A1200 panels list every critical SMD capacitor by reference designator (C401, C402, C811, etc.) with values, voltage ratings, and board location notes. These are the caps that will leak — or already have.
SMD Capacitor Leakage & Recapping Guide
This is the section I wish I'd had written down the first time I tackled an A600 recap. It walks through three steps:
- Remove old caps — how to desolder SMD electrolytics without lifting pads, what to do when a pad does lift, and polarity notes.
- Clean corrosion — the vinegar neutralisation method, scrubbing technique, IPA rinse, and how to inspect for corroded vias under magnification.
- Install new caps — why polymer aluminium SMD caps are the best replacement, tantalum polarity warnings (stripe = positive, opposite to electrolytics), and soldering tips.
There's also a note for A500 owners explaining that their through-hole caps rarely cause corrosion damage, so while a recap for ESR improvement is still worthwhile, it's not the same emergency.
Video & Upscaling Reference
The Amiga's DB23 RGB output is brilliant for picture quality but awkward for modern setups. This section includes:
- DB23 to SCART wiring table — every pin mapped, including the SCART blanking signal that must be driven to force RGB mode, and where to add 75 Ω series resistors.
- 15 kHz signal specs — horizontal and vertical sync frequencies for PAL and NTSC, pixel clock rates, active line counts for lo-res and hi-res modes, and colour depth differences between OCS/ECS and AGA.
- Upscaler compatibility notes — covering the OSSC, RetroTINK 5X/4K, RetroTINK 2X-SCART, and the GBS-Control open-source firmware mod. Each entry notes input types, output resolution handling, and latency.
Diagnostic Checklist
Three reference panels covering the most common bench scenarios:
- Power rail checks — a table of all voltage rails (+5 V, +12 V, -12 V, -5 V) with tolerances and where to probe on the board. Includes a clear warning about overvoltage damage above 5.4 V.
- Boot screen error colour decoder — the Kickstart ROM self-test communicates through screen colour flashes. The table covers green (RAM OK), red (Chip RAM failure), yellow (CPU exception), blue (custom chip error), white (ROM checksum failure), dark grey (no valid Kickstart), and cyan (CIA/keyboard fault), each with likely causes and next steps.
- CIA chip fault symptoms — a side-by-side breakdown of CIA-A (U300) vs CIA-B (U301) failure symptoms. CIA-A handles keyboard, power LED, joystick port 1, disk drive, and parallel port. CIA-B handles joystick port 2, serial port, drive activity light, and the audio filter relay. Knowing which CIA controls what saves a lot of troubleshooting time.
Connector Pinouts
Three reference tables for the connectors you'll interact with most:
- External floppy port (DB23) — all 23 pins with signal names and active-low notation. Useful when wiring Gotek emulators or diagnosing drive faults.
- IDE header (44-pin, 2.5″) — the full pinout for the A600 and A1200 internal IDE connector, including notes on CompactFlash adapter setup and PFS3/FFS formatting.
- Expansion ports overview — covering the A500 side expansion and trapdoor, A600 PCMCIA, A1200 trapdoor (150-pin CPU slot), A1200 PCMCIA, and the A1200 clock port with address range.
Resources
The page finishes with links to relevant Smiggy's World blog posts, bench tools (IC Pinout Finder, Recap Planner, Ohm's Law Calculator), and external community resources including English Amiga Board, Aminet, DiagROM, and AmigaLove.
Check It Out
Head over to smiggy.com/amiga and have a look. If you're working on an A500, A600, or A1200 restoration, I hope this saves you some time and keeps a few extra browser tabs closed. Like everything else on the site, it works across all theme options — give it a go in Amber Terminal or Matrix CRT mode.
If you spot anything that needs correcting or think a resource should be added, drop me a message on the contact page or leave a comment below.
Comments (0)
No comments yet. Be the first to comment on Smiggy's article!
Leave a Comment